01
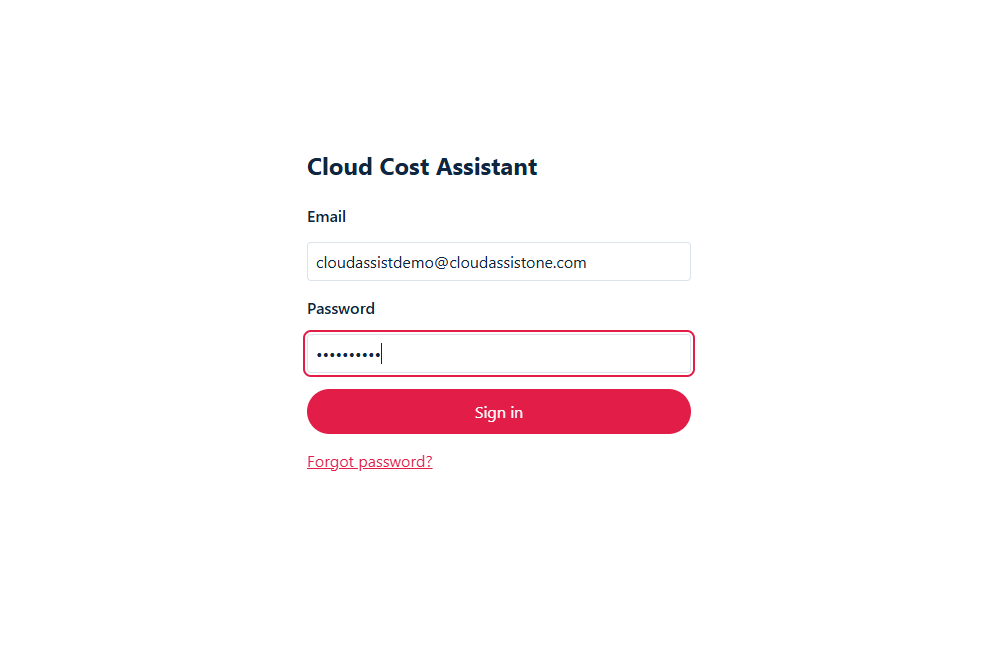
Sign in to your portal
Every client gets their own secure login. Your data is scoped to your company, so you only ever see your own clouds and your own spend.
Process
A step-by-step look at the Cloud Cost Assistant portal — from signing in to raising a support ticket.
Every client gets their own secure login. Your data is scoped to your company, so you only ever see your own clouds and your own spend.
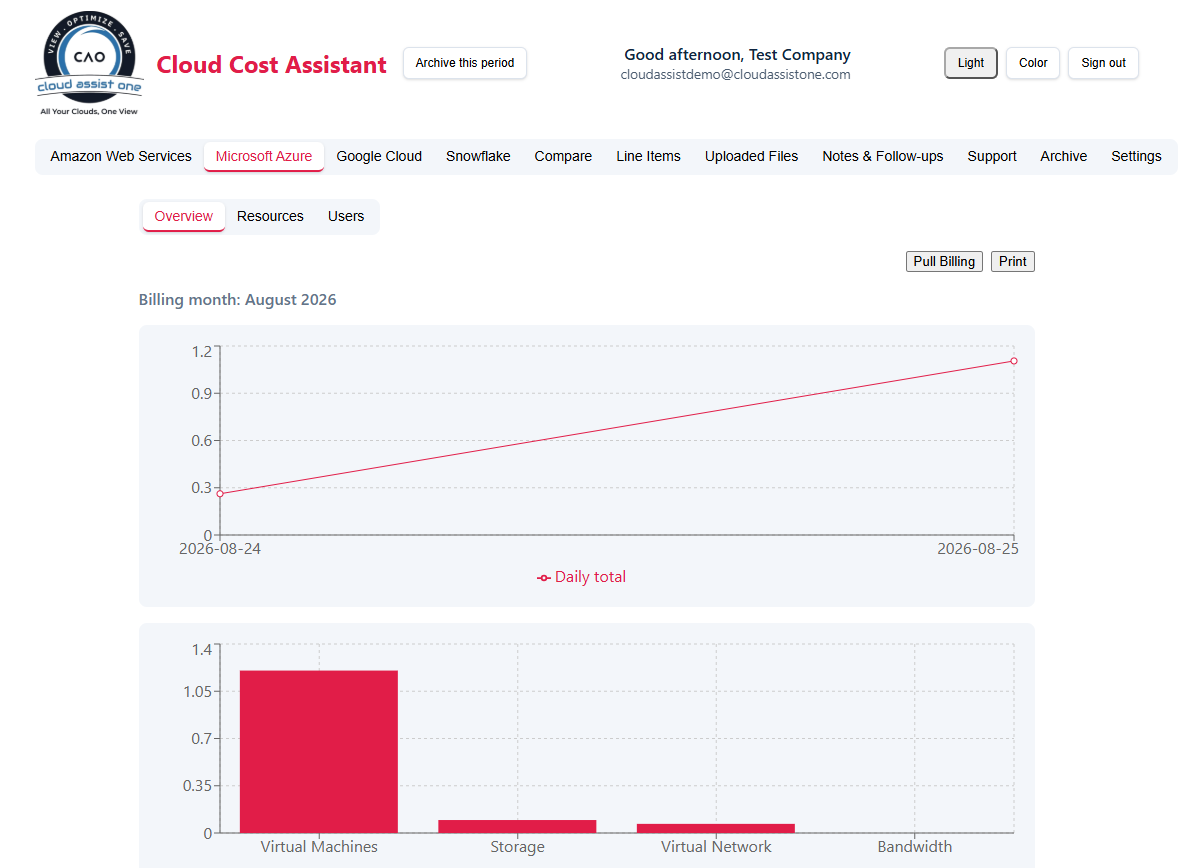
AWS, Microsoft Azure, Google Cloud and Snowflake each get their own tab, with the billing month front and centre. No more logging into four consoles to answer one question.
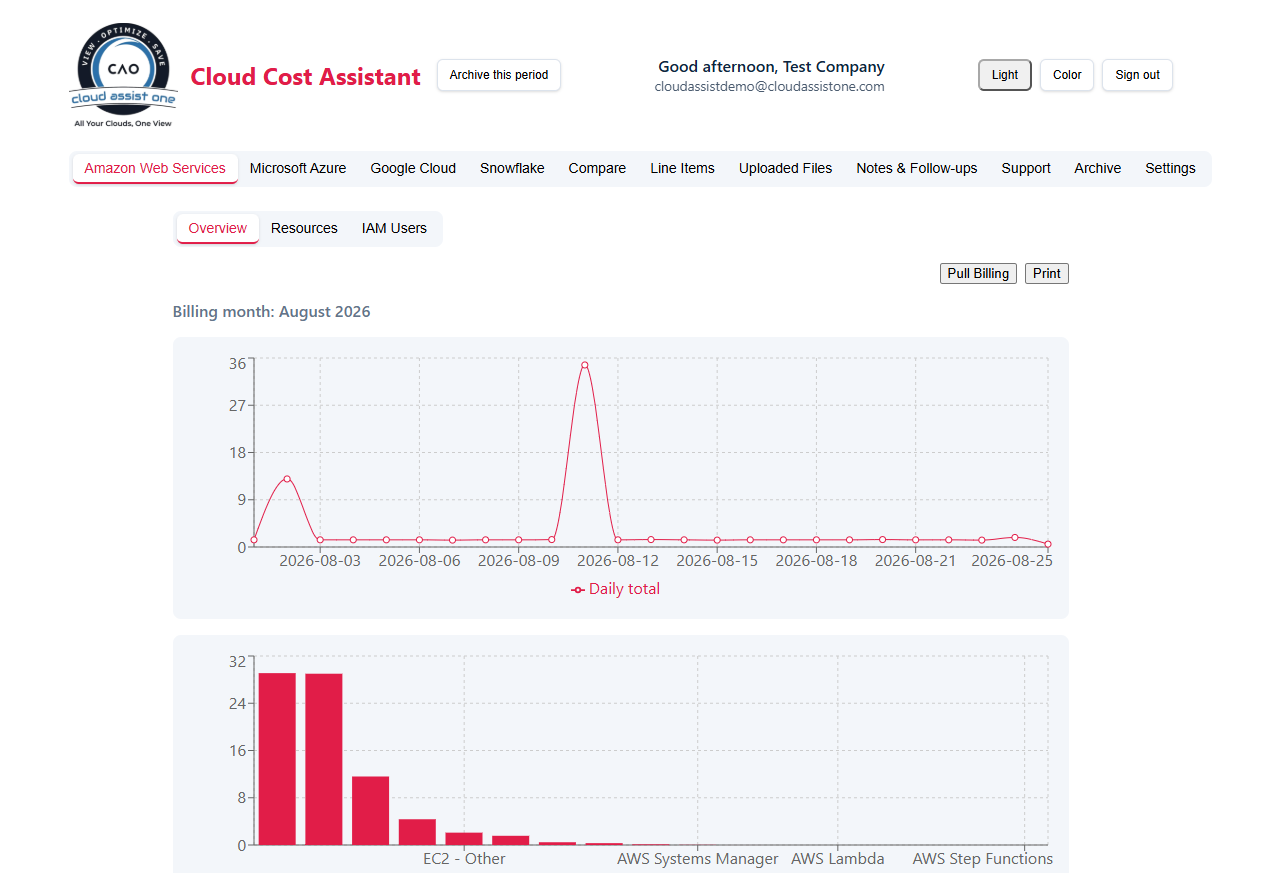
Pull a month's costs directly from your cloud account, or upload a billing export. Daily spend and cost by service are charted for you — month after month.
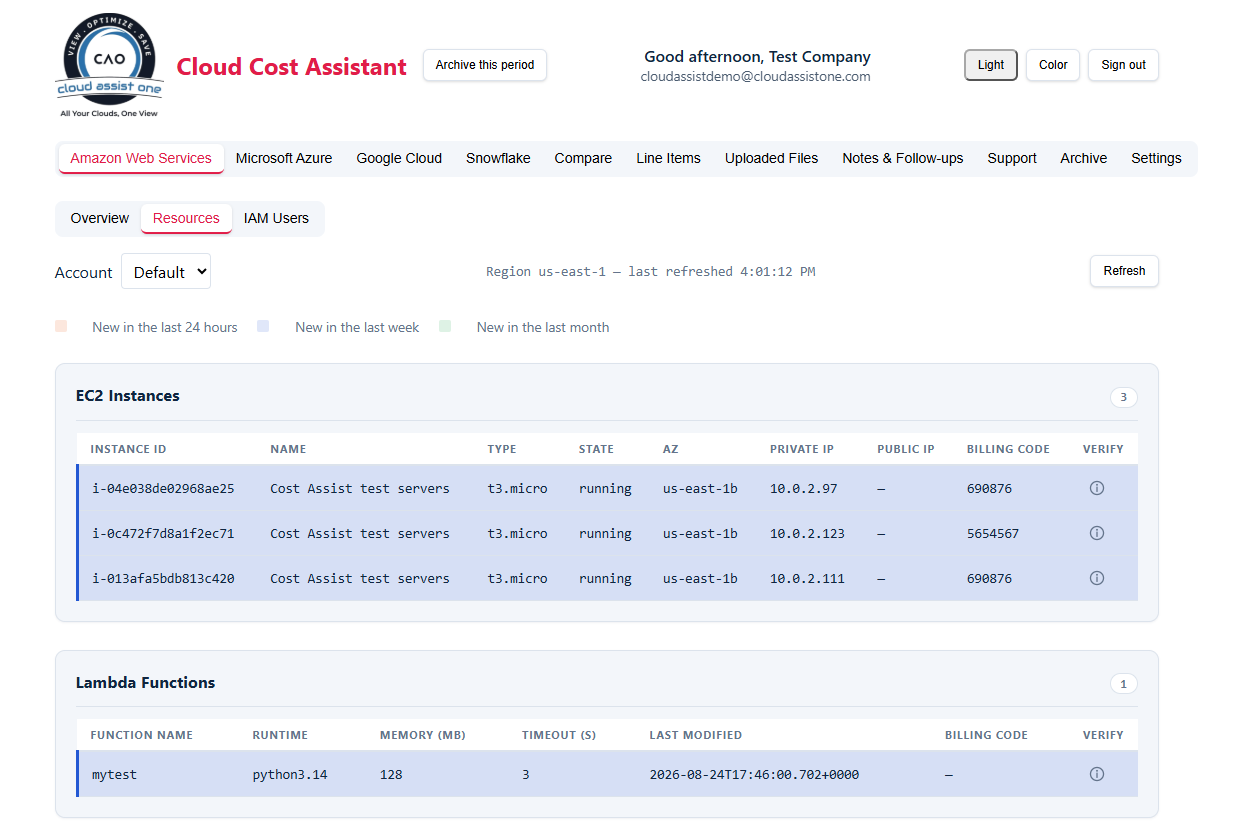
See what is actually running right now, colour coded by how recently it appeared, with its Billing Code tag alongside. Verify a new resource is legitimate before it turns into next month's surprise.
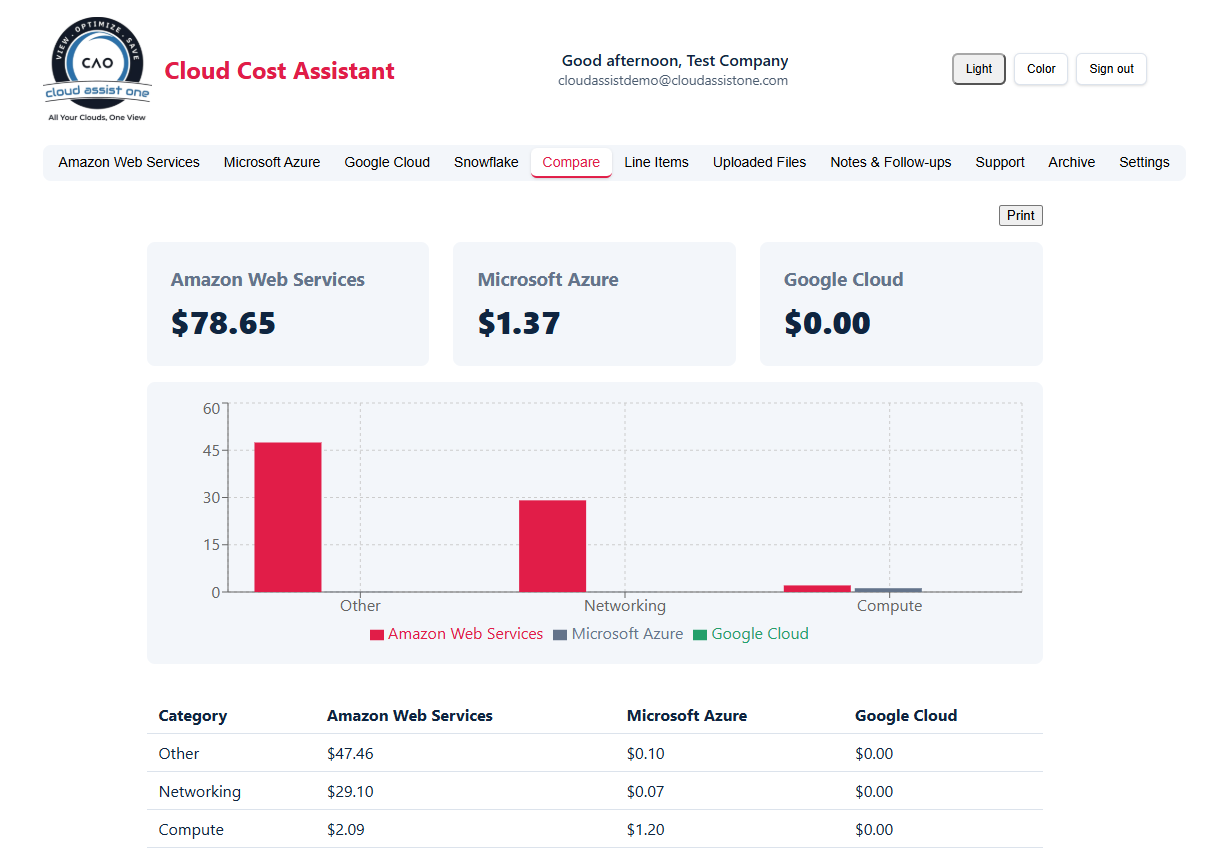
Put providers next to each other by category and see where the money actually goes, rather than comparing four differently shaped invoices by hand.
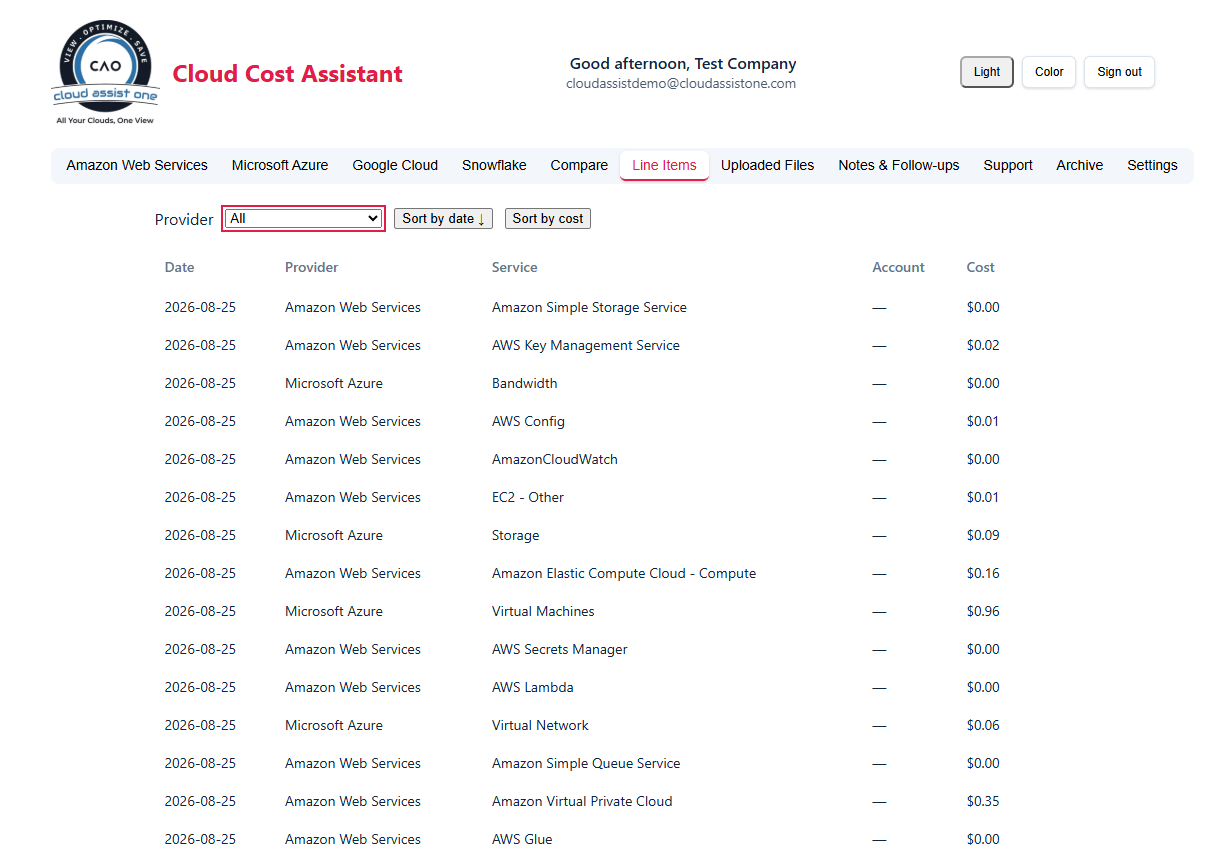
Follow any number down to the individual resource and day it came from, and print a report by Billing Code when finance asks who the spend belongs to.
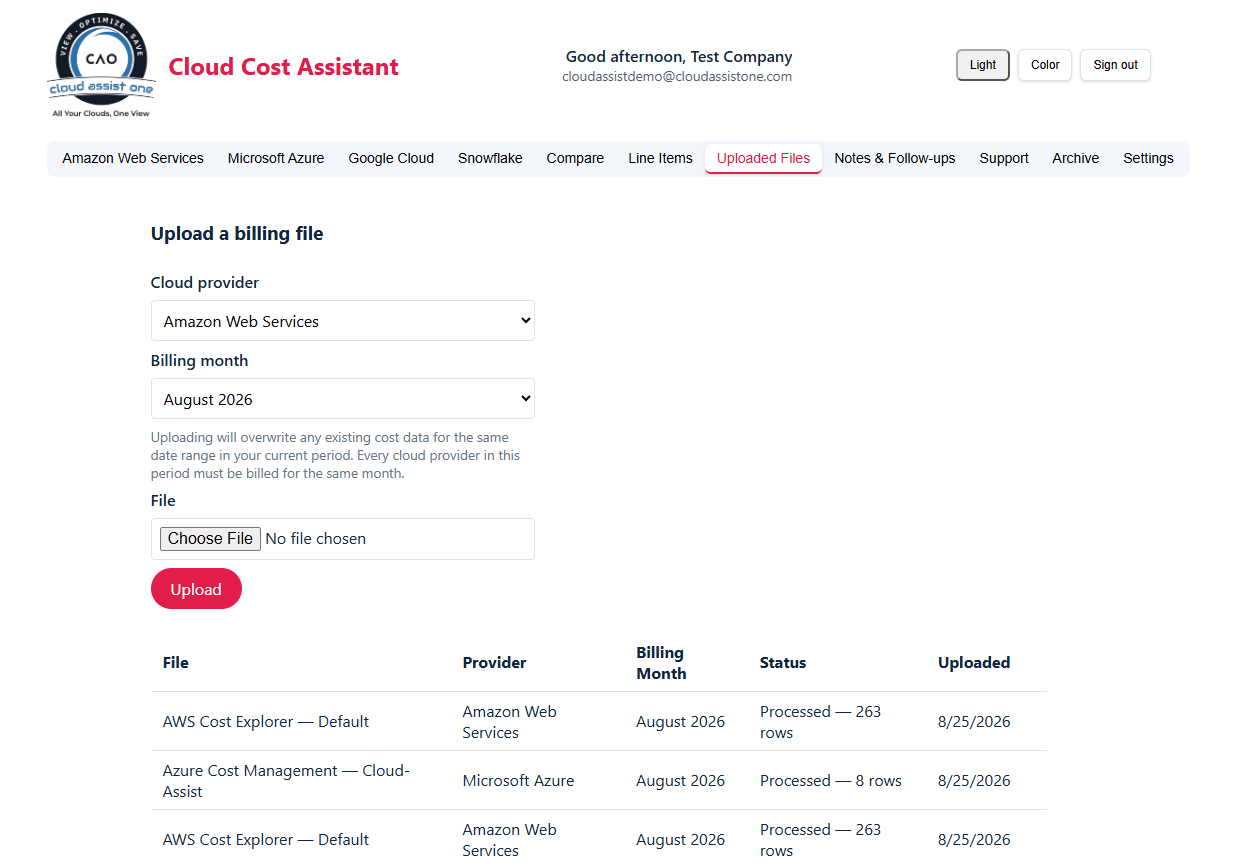
Have a spreadsheet from a provider we don't pull from yet? Upload it and it is analysed alongside everything else, so the view stays complete.
Need a hand with tagging, billing optimization, or cloud technical support? Raise a ticket from inside the portal and a senior engineer picks it up.
Get Started